Food photography has grown into an art form in its own right, with images of culinary creations filling up social media feeds and making viewers’ mouths water. However, capturing those stunning images is not as simple as it seems. In this blog post, we will delve into 50 essential tips for creating stunning food photography, categorised into three main areas: lighting, composition and styling, and post-processing.
Lighting Food photography
- Use natural light whenever possible.
- Avoid direct sunlight to prevent harsh shadows.
- Utilise diffusers to soften the light.
- Employ reflectors to bounce light onto your subject.
- Experiment with different light angles.
- Opt for early morning or late afternoon light for best results.
- Mimic natural light with a softbox if using artificial light.
- Try backlighting for a dramatic effect.
- Side lighting can highlight the texture of the food.
- Use white balance settings to maintain food color accuracy.
- Avoid using a flash directly on the food.
- Use shadows creatively to add depth and interest.
- Reflect light onto specific parts of your composition with mirrors.
- Experiment with different brightness levels.
- Understand the color temperature of different light sources.
- Use a light tent for even light distribution.
- Keep practicing to perfect your understanding of light.
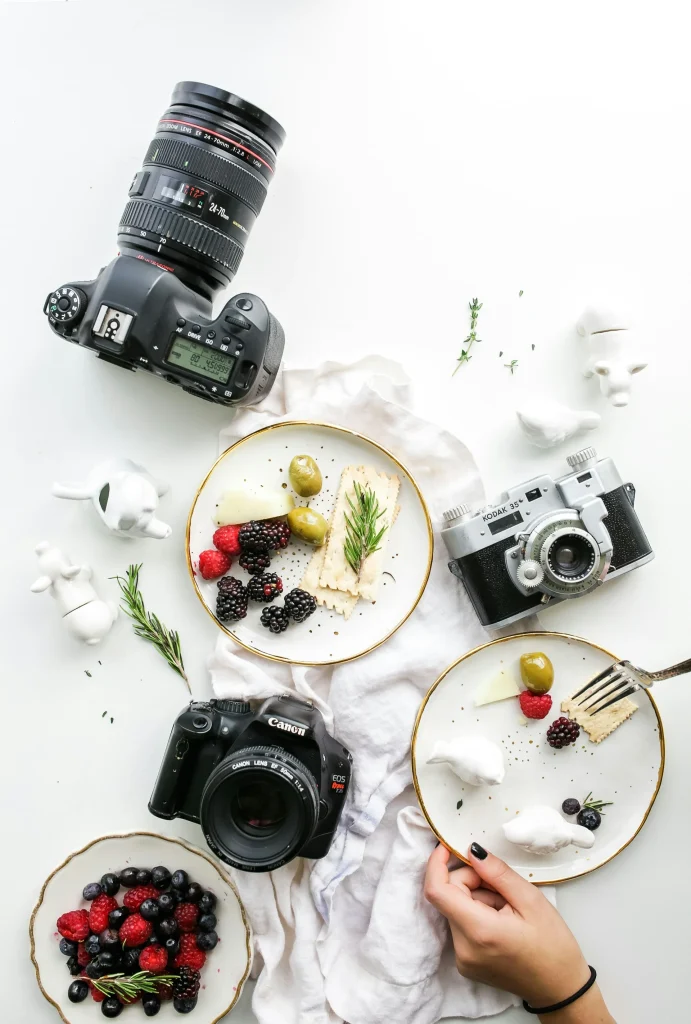
Composition and Styling
- Use the rule of thirds for shot composition.
- Choose backgrounds that complement the food.
- Use props strategically and sparingly.
- Use ingredients as props for a ‘behind-the-scenes’ feel.
- Pay attention to color contrasts.
- Use different textures to add depth to your images.
- Create a creative touch with lines and patterns.
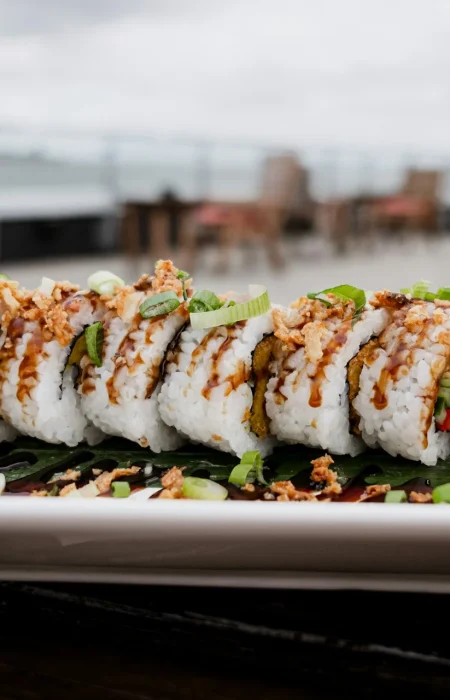
- Remember the importance of food styling – a drizzle of sauce can make a big difference.
- Use garnishes to add color.
- Experiment with different heights and angles.
- Use negative space to emphasise your subject.
- Avoid overcrowding the frame.
- Always keep the focus on the food.
- Try different dishes and surfaces.
- Use layers for added depth.
- Don’t be afraid to play with your food – cut, slice, pour.
Post-Processing
- Get acquainted with software like Adobe Lightroom and Photoshop.
- Keep editing subtle and avoid overdoing it.
- Enhance colors but keep them natural-looking.
- Adjust exposure to achieve the right brightness.
- Sharpen details but avoid making the image look artificial.
- Use filters sparingly.
- Understand the histogram for correct exposure.
- Use the clone tool to fix imperfections.
- Use dodge and burn tools to add depth.
- Use the healing tool for minor blemishes.
- Learn to crop and compose in post-processing.
- Use vignettes to draw attention to the center of the image.
- Adjust white balance in post if necessary.
- Use noise reduction sparingly.
- Always save your images in the highest quality possible.
- Always keep the original file.
- Experiment and practice with different editing techniques.
Conclusion
Creating stunning food photography involves mastering lighting, composition and styling, and post-processing. These 50 tips provide a comprehensive guide to improve your skills and create images that are not only mouth-wateringly delicious but also tell a compelling story. Remember, practice makes perfect, so keep experimenting and learning.


